Saturday, 14 April 2012

Casual Spring Coordinate

Hello readers! How are you? I hope that everyone is well and happy!

Today I'm going to show you the outfit I used to enter the Yuka Obara x Kawaii.i coordinate contest. I mentioned it before but I didn't post the outfit.


Yuka Obara, known as Yunkoro, is a super-popular gal blogger. Well, obviously I'm a lolita, but I do admire some aspects of gal style. Yunkoro is stylish and clever, with great make-up skills and morishame technique (taking self-shots with a phone camera). You can find her blog link at the end of this post!

The theme for the contest was "Spring Coordinate" I wanted to incorporate some pastel colours since that's the spring trend this year. I like it a lot, and I'm thinking of which new pastel items I want to add to my wardrobe.

I also used chiffon fabrics to give a light, airy look to my outfit. Both the headbow and blouse are chiffon. Ankle socks are popular again this season, and I really like them! At the moment I only have cream and white ones; I think transparent ones would be very cute.

~Rundown~
Chiffon scarf (used as headbow)- Vintage
Skirt- Fairy wish
Everything else- Offbrand 

Please check the Kawaii.i page for news on Japanese fashion:

And please take a look at Yunkoro's blog

Thank you for looking!

Sapphira
xxxx

Monday, 9 April 2012

Straw half-bonnet tutorial

Hello readers! How are you? 

As you can see, I've changed Elegant Poupée's appearance a little. It still needs some work though.

Today I've put together a tutorial for you. I'll explain how I made the straw half-bonnet I wore for my recent photoshoot (it's very simple!) as well as sharing some general bonnet tips.


~STRAW HALF-BONNET TUTORIAL~

This bonnet was constructed from an existing straw hat. There are just five simple steps to make it.

I started with an ordinary straw hat. This one is quite small, meant for children to decorate for Easter. It's constructed in a continuous strip of woven straw, which makes it very easy to work with. This tutorial may not work as well for other types of straw hats!

1. The first thing to do is cut a slit into the brim and up to the crown. Then cut away the top part of the crown (half-bonnets have no back to them). Cut along the edge of the woven strip for a neat finish. It sort of looks like a half bonnet already, doesn't it?

2. Now we have to determine how much of the brim to cut away. I did this by cutting away at the brim bit by bit and trying it on until I was happy with it. This is what I ended up with. You can refer to the photo at the beginning of the post to see what size we are aiming for.

3. Of course, we are now left with rough edges where we have cut into the straw. We'll cover those up by stitching ribbon or bias binding around. As you can see, I incorporated the bonnet ties into the binding. At this point, the bonnet is basically finished! That was easy, wasn't it?

4. We are missing one important thing though, and that is a little decoration to make our bonnet pretty. Since it's a straw bonnet with a country loli feeling, flowers, fruit, cotton lace or gingham ribbon might be nice. I coloured in these white foam craft roses with marker pens to match my chosen colour scheme, and tea-stained the doilies I bought from Daiso in Singapore to make my bonnet adornments.


5. Since the shape of the bonnet has somewhat unsightly corners, it's better to arrange the decoration to cover them. Although, the corners are much less noticeable when worn. Sew or glue your decorations on firmly. Well done, your straw half-bonnet is finished!


My tutorial was the cheat's way to do it, but if you'd like to try something a bit more professional, how about taking a look at this lovely tutorial from Tyler of Lily of the Valley?

Bonnets take a bit of confidence to wear, so for now I'm starting small and simple. I would love to wear a more grand bonnet for a photoshoot or Lolita tea party! Maybe when I've gained more confidence I'll wear one for going to buy milk or post a letter.... There are a few brands whose bonnets make me dream of that day!

Triple Fortune http://3-f.jp/
The milliners that make a classic lolita's heart beat faster! I tried on a most beautiful pale blue bonnet in Atelier Pierrot two summer ago, I regret so much that I didn't get it. 

A brand run by Caro of Fyeah Lolita. Check the bonnet gallery for pictures of her wonderful creations! 

The website hasn't been updated forever, so I suspect this brand is on hiatus. However we can still enjoy beautiful pictures of these lovely and intricate bonnets. Sumika-san, the designer, is so stylish! Perhaps you've seen her snap in KERA or Gothic and Lolita Bible?

Thank you very much for reading today's entry. I hope you found it useful and perhaps even interesting! Which bonnet brands do you admire? Do you know what happened to Kaleido Waltz? Have you made any bonnets?

See you next time,
Sapphira
xxxx

Thursday, 5 April 2012

Classical Lolita Coordinate ~what does a blue rose mean?

Hello readers!

How are you? It's the Easter long weekend at last. I've been so busy at work I've really been looking forward to this little holiday! This weekend I will spend time on my Japanese studies, and also on making some tutorials to post here.

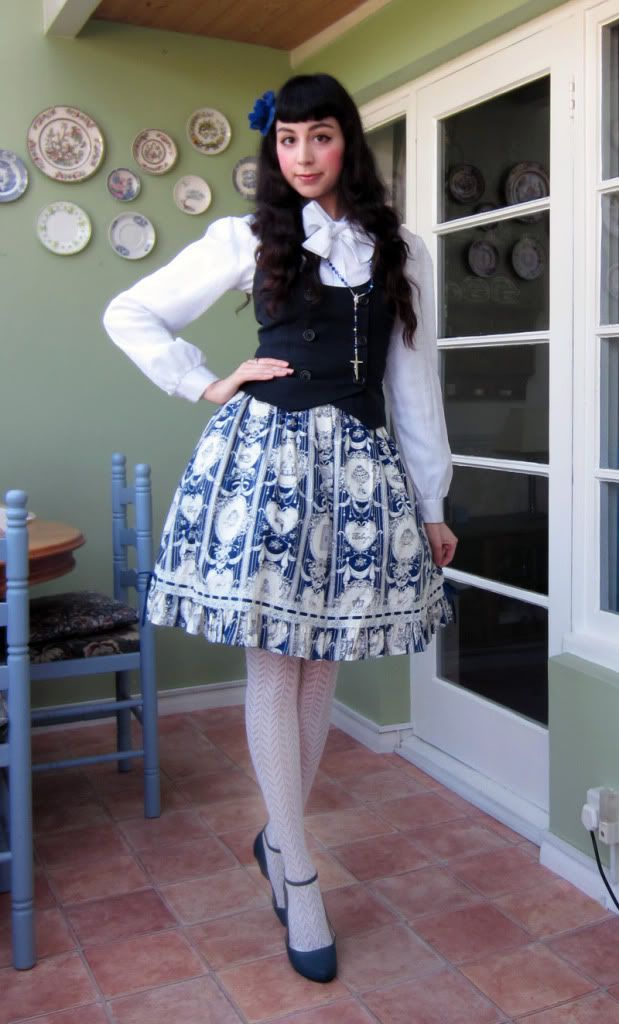
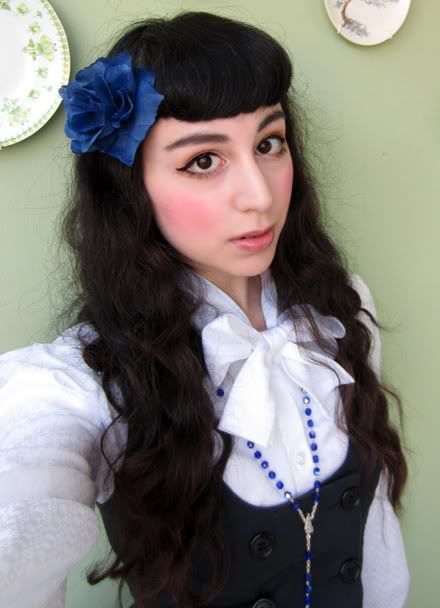
Today I'd like to show you the outfit I wore to visit Chichester with my father. The colour scheme was blue and white, with my Marie Antoinette skirt as the focal point. With the dandy style of the blouse and the smart double breasted waistcoat I intended to give my classic lolita outfit a bit of an aristocratic flair.

~Rundown~
Blouse: Vintage
Skirt: Baby, the Stars Shine Bright
Corsage: Handmade
Everything else: Offbrand

My father loves books, so we spent a lot of time in bookshops that day. I got a little book on the language of flowers, which I've been meaning to learn more about for the longest time. I discovered that roses especially have very pretty meanings, for example the Austrian rose means "Thou art all that is lovely", and the China rose means "Beauty always new".


But what about a blue rose, like mine? Blue roses aren't natural unfortunately, but owe their hue to being placed in coloured water. I was rather sad to discover this! Still, they are my favourite.

I hope you liked my outfit! See you next time,

Sapphira
xxxx

Friday, 30 March 2012

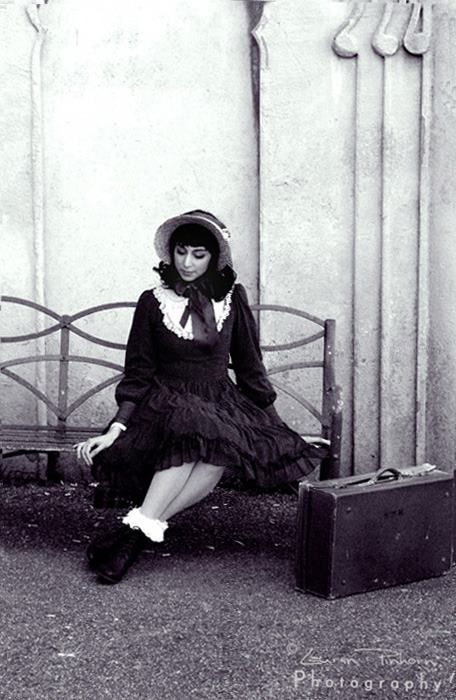
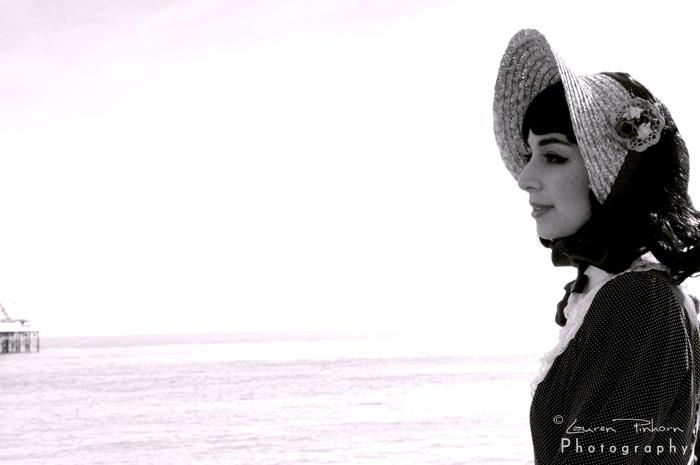
Photoshoot: A country girl by the sea

Hello readers! How are you today? I'm happy it's the weekend!

I mentioned in my last post that I had a photoshoot with Lauren Pinhorn coming up. It went very well, and I now have the fruits of our combined labour to share with you....


The photoshoot location was Brighton, and we took in many of the sights, including the pier, the boardwalk and the Royal Pavillion.


The day was so bright and warm, and the sea was beautiful and blue. The conditions were almost perfect, only a little too bright perhaps, I could hardly keep my eyes open!


The character I thought of for this shoot was a girl from the countryside going to see the sea for the first time. She was so excited to see it, as soon as she arrived she rushed from the station to the pier, taking her case with her.


****

Lauren was great to work with, and we managed to take hundreds of pictures. While planning the shoot we talked about what sort of look we wanted for the photos. Brighton was a great location for the Victorian theme we chose!

If you look at Lauren's previous work, the thing that stood out for me was the natural quality of her photos. I felt inspired by this and therefore I didn't want to look too posed (although you know I am a poser!) which is why I tried to inhabit the role of a character.

I really like the way she edited the pictures, giving them a graininess that evokes the period of early photography. The colours and saturation also bring back the memories of that day and the feeling of the warmth of the sun.  

I hope you enjoyed the photos, and didn't feel too sick with my wordy nonsense! 

Please do take time to look at Lauren's website and blog:

and

Thank you, and see you next time!

Sapphira
xxxx
Related Posts Plugin for WordPress, Blogger...